
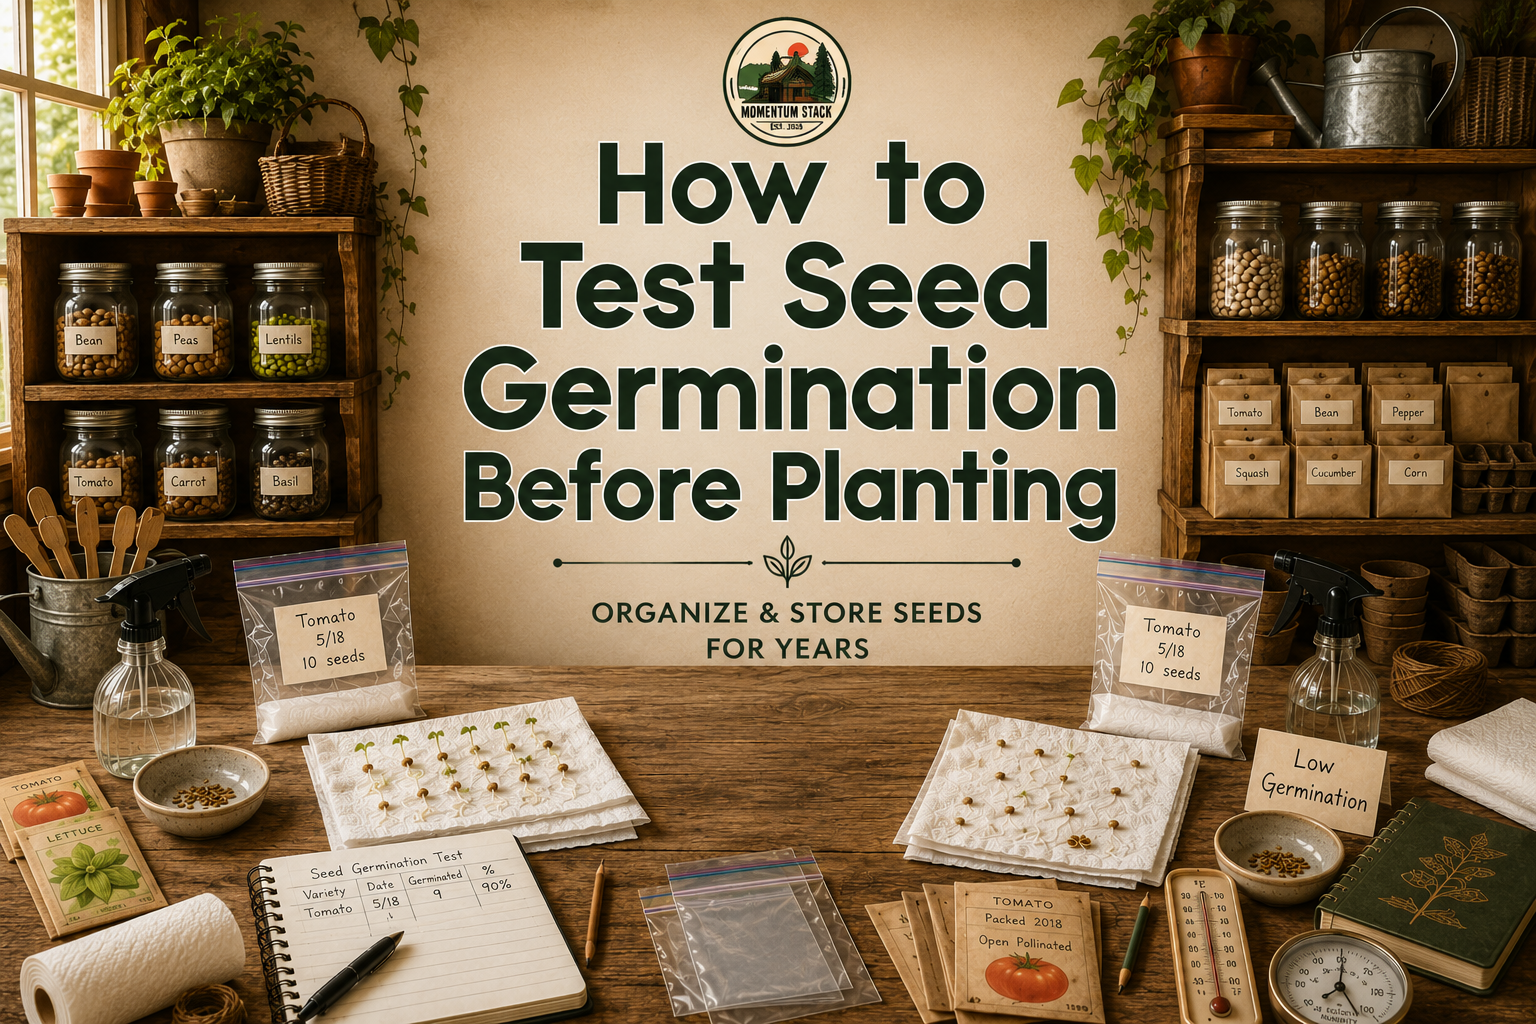

How to Test Seed Germination Before Planting
Growing a successful garden starts long before the first seed goes into the soil. Whether you’re planting vegetables, herbs, or flowers, using healthy, viable seeds gives your plants the best chance to thrive from day one.
If you’ve saved seeds from last season or discovered a few forgotten seed packets tucked away in your garden shed, you may wonder whether they’re still worth planting. The good news is that an expiration date doesn’t always mean a seed is dead. Many seeds remain viable for years when stored correctly, while others lose their ability to sprout much sooner.
Instead of guessing, you can perform a simple germination test at home in just a few minutes. This easy method helps you estimate how many seeds are likely to grow, allowing you to adjust your planting plans, avoid wasted garden space, and decide whether it’s time to replace older seeds.
In this guide, you’ll learn how to test seed germination using the popular paper towel method, calculate germination percentages, understand what your results mean, and avoid the common mistakes that can lead to inaccurate results.
Testing seed germination is simple. Place 10 seeds between damp paper towels, seal them in a plastic bag, keep them warm, and count how many sprout after the normal germination period. Divide the number of sprouted seeds by the total tested to calculate your germination percentage.
Why You Should Test Seeds Before Planting
A quick germination test can save far more than a handful of seeds—it can save weeks of waiting and disappointment.
Imagine carefully preparing your garden beds, watering regularly, and patiently waiting for seedlings that never appear. In many cases, the problem isn’t your soil or your gardening skills. The seeds simply weren’t viable anymore.
Testing seeds before planting helps you:
- Avoid wasting valuable garden space.
- Reduce frustration caused by poor germination.
- Decide whether to sow more heavily or buy fresh seeds.
- Make better use of home-saved seeds.
- Reduce unnecessary waste by using seeds that are still perfectly good.
For gardeners who regularly save seeds from vegetables, performing a germination test each season is one of the easiest ways to confirm that stored seeds are still worth planting before opening your home seed bank.
Momentum Stack Tip: Even if a seed packet is a few years old, don’t throw it away without testing it first. Many properly stored seeds remain surprisingly productive.
What Causes Seeds to Lose Viability?
Seeds are living organisms in a dormant state. While they may appear inactive, they slowly age over time, and several environmental factors can shorten their lifespan.
The biggest enemies of seed viability include:
Age
Every seed has a natural lifespan. Some remain viable for only one or two years, while others can germinate successfully after five years or more when stored under ideal conditions.
Excess Moisture
Moisture is often the quickest way to damage stored seeds. High humidity can trigger mold growth, premature sprouting, or internal deterioration that permanently reduces germination rates.
Heat
Warm temperatures accelerate the aging process. Seeds stored in hot garages, sheds, or sunny windows lose vigor much faster than those kept in cool, dry conditions.
Fluctuating Conditions
Repeated cycles of heating, cooling, and changing humidity gradually weaken seeds. Consistent storage conditions are generally far better than frequent environmental changes.
Physical Damage
Cracked seed coats, insect damage, or improper handling can prevent otherwise healthy seeds from germinating.
Fortunately, a simple germination test reveals whether these factors have significantly affected your seeds before planting season begins.
Supplies You’ll Need
One of the best things about a germination test is that it requires almost no specialized equipment. Most gardeners already have everything they need at home.
Gather the following supplies:
- 10 or 20 seeds from the same variety
- Two clean paper towels
- Clean water
- A spray bottle or small cup of water
- A resealable plastic bag or airtight food container
- A waterproof marker
- A small plate or tray (optional)
Avoid using dripping-wet paper towels. The goal is to create a moist environment, not to soak the seeds. Excess water can encourage mold or reduce oxygen around the seeds, making the test less reliable.
Step 1 — Count Your Seeds
Choose seeds from a single variety and count them carefully before beginning.
Testing 10 seeds works well for home gardeners because it makes calculating percentages quick and simple.
For greater accuracy, especially if you have plenty of seed available, test 20 or even 50 seeds.
Examples:
- 10 seeds = Fast and easy.
- 20 seeds = Better accuracy.
- 50–100 seeds = Best for large seed collections.
If you have several seed varieties, test each one separately and clearly label every sample to avoid confusion later.
Step 2 — Moisten the Paper Towel
Lightly dampen a paper towel with clean water.
The towel should feel evenly moist but should not drip when lifted.
If you’ve accidentally added too much water, gently squeeze or blot away the excess before placing the seeds on the towel.
A properly moist towel provides the water seeds need while still allowing enough air to reach them—both are essential for successful germination.
Step 3 — Arrange the Seeds
Spread the seeds evenly across one half of the damp paper towel.
Leave a small gap between each seed so the roots won’t tangle together as they begin to sprout.
Once the seeds are arranged:
- Fold the other half of the paper towel over them.
- Place the folded towel inside a resealable plastic bag or airtight container.
- Seal it loosely to help retain moisture while still allowing a small amount of air exchange.
Finally, write the following information on the outside of the bag:
- Seed variety
- Date the test started
- Number of seeds tested
Proper labeling becomes especially helpful when you’re testing multiple seed varieties at the same time.
Step 4 — Store Somewhere Warm
Place the sealed bag in a warm location away from direct sunlight.
For most vegetable seeds, an ideal temperature is 65–75°F (18–24°C). This range encourages steady germination without exposing the seeds to excessive heat.
Good locations include:
- On top of a refrigerator
- Inside a warm room
- Near (but not directly on) a seed-starting heat mat
- A shelf away from cold drafts
Avoid placing the bag in direct sunlight. While light isn’t harmful for every species, excessive heat can dry out the paper towel or create temperatures that are too high for successful germination.
Step 5 — Check the Seeds Daily
Open the bag once each day to inspect the seeds.
During each check:
- Make sure the paper towel remains evenly moist.
- Add a light mist of water if it begins to dry.
- Watch for tiny white roots emerging from the seeds.
- Remove any moldy or obviously decaying seeds if necessary.
Different plant species germinate at different speeds. Fast-growing vegetables such as radishes may sprout within just a few days, while peppers, parsley, or some flowers can take considerably longer.
Patience is important—the goal is to wait until the normal germination period for that particular crop has passed before counting your results.
Step 6 — Count Germinated Seeds
Once the normal germination period has passed for your seed variety, it’s time to evaluate the results.
A seed counts as germinated when you can clearly see a healthy white root (called the radicle) emerging from the seed coat. Tiny cracks or swollen seeds don’t count—they haven’t successfully germinated yet.
Carefully count the number of seeds that sprouted and record your total.
For example:
- Tested: 10 tomato seeds
- Germinated: 9
- Germination rate: 90%
If you’re testing multiple varieties, record each result in a notebook or gardening journal. Over time, these notes become a valuable reference for deciding which seeds are worth keeping and which should be replaced.
How to Calculate Germination Percentage
Calculating germination percentage is surprisingly simple.
Use this formula:
(Number of germinated seeds ÷ Number of seeds tested) × 100 = Germination Percentage
Here are a few examples:
| Seeds Tested | Seeds Germinated | Germination Rate |
|---|---|---|
| 10 | 10 | 100% |
| 10 | 9 | 90% |
| 10 | 8 | 80% |
| 10 | 7 | 70% |
| 10 | 5 | 50% |
| 20 | 15 | 75% |
Testing 10 seeds makes the math especially easy—each successful seed equals 10%.
What Your Results Mean
Not every batch of seeds needs to achieve perfect germination. Understanding what your percentage means helps you make smarter planting decisions.
90–100% — Excellent
Your seeds are in excellent condition.
Plant them normally without making any adjustments.
This is common with:
- Fresh seed
- Properly stored seed
- High-quality commercial seed
75–89% — Good
These seeds are still very usable.
Most gardeners can plant them as usual or sow just slightly more heavily to compensate for the few seeds that may not sprout.
50–74% — Fair
The seeds are beginning to lose vigor.
You have two options:
- Sow seeds more densely.
- Replace them if you need consistent results.
For valuable heirloom varieties, many gardeners continue using seeds in this range by simply planting extra.
Below 50% — Poor
Low germination usually means the seed lot is nearing the end of its useful life.
If the variety is easy to replace, purchasing fresh seed will likely save time and garden space.
However, if it’s a rare family heirloom or difficult-to-find variety, it may still be worth planting extra seeds to preserve the genetics.
Don’t Expect Every Seed to Sprout
Even fresh, high-quality seeds rarely achieve a perfect 100% germination rate. Environmental conditions, genetics, and natural variation all influence the final percentage.
The goal isn’t perfection—it’s knowing what to expect before planting.
Should You Throw Away Old Seeds?
Not necessarily.
One of the biggest misconceptions in gardening is that expired seeds are automatically useless.
In reality, seed packet dates are intended as guidelines—not guarantees.
Many seeds remain perfectly viable years beyond the printed date when they’re stored correctly in a cool, dry location.
For example:
- Tomatoes often remain viable for several years.
- Beans frequently germinate well long after their packing date.
- Lettuce generally declines faster than many other vegetables.
Instead of relying solely on the date printed on the packet, perform a germination test first. You may discover that an older seed collection is still capable of producing a healthy crop.
If you regularly build a home seed bank, testing older seeds before each planting season helps you avoid unnecessary waste while keeping your collection productive.
Tips to Improve Germination Test Accuracy
A few small details can make your test far more reliable.
Use clean materials
Clean paper towels and containers help reduce the risk of mold and bacterial growth.
Keep moisture consistent
Paper towels should stay damp throughout the test.
Avoid both:
- completely dry towels
- soaking wet towels
Too little moisture prevents germination, while too much limits oxygen and encourages mold.
Label every sample
Testing several varieties at once is common.
Always include:
- variety name
- test date
- number of seeds
Good labels prevent confusion later.
Be patient
Different crops germinate at different speeds.
Don’t declare seeds “dead” too early.
Check the expected germination time for each crop before ending your test.
Test before planting season
Rather than waiting until you’re ready to sow outdoors, test older seeds a week or two beforehand.
This gives you plenty of time to purchase replacements if needed.
Common Germination Test Mistakes
Even though the paper towel method is simple, a few common mistakes can produce misleading results.
Using Too Much Water
Paper towels should be damp—not dripping.
Excess water reduces oxygen around the seed and encourages mold growth.
Letting the Towels Dry Out
Even brief drying can stop germination.
Check moisture daily and mist lightly whenever needed.
Storing Seeds in a Cold Location
Most vegetable seeds germinate best between 65–75°F (18–24°C).
Cold temperatures slow or completely prevent germination.
Forgetting to Label Samples
After a few days, different seed varieties often look remarkably similar.
Always label every bag before putting it away.
Counting Too Early
Some vegetables sprout quickly.
Others require much longer.
Ending the test too soon often underestimates your true germination rate.
Testing Damaged Seeds Only
If you’re testing an entire packet, choose a random sample.
Selecting only the largest—or only the smallest—seeds can skew the results.
Frequently Asked Questions
How many seeds should I use for a germination test?
Ten seeds are ideal for most home gardeners because calculating percentages is quick and easy. If you have plenty of seed available, testing 20 or more provides even greater accuracy.
How long does a germination test take?
It depends on the crop. Some seeds sprout within three to five days, while others may need two weeks or longer. Always compare your results with the typical germination time for that plant.
Can expired seeds still grow?
Yes. Many vegetable seeds remain viable well beyond the printed date if they’ve been stored in cool, dry conditions. A simple germination test is the best way to know for sure.
Should I refrigerate seeds during the test?
No. Most seeds germinate best at normal room temperature or slightly warmer. Refrigeration slows the germination process and may produce inaccurate results.
What if only half my seeds germinate?
A 50% germination rate doesn’t necessarily mean the seeds are unusable. You can often compensate by sowing more densely, especially if the variety is rare or difficult to replace.
Final Thoughts
A germination test is one of the easiest ways to improve planting success before the growing season begins.
In just a few minutes, you can determine whether older seeds are still worth using, estimate how many seedlings to expect, and avoid wasting valuable time and garden space.
Instead of relying on expiration dates alone, let the seeds tell you how healthy they really are.
Whether you’re working with commercial seed packets or seeds you’ve saved from your own garden, this simple habit can help you grow with greater confidence year after year.
Quick Checklist
✅ Gather 10–20 seeds from one variety
✅ Dampen a paper towel (don’t soak it)
✅ Space seeds evenly
✅ Seal inside a plastic bag or container
✅ Label with variety and date
✅ Keep warm (65–75°F / 18–24°C)
✅ Check moisture daily
✅ Count germinated seeds
✅ Calculate germination percentage
✅ Decide whether to plant, sow extra, or replace the seeds