
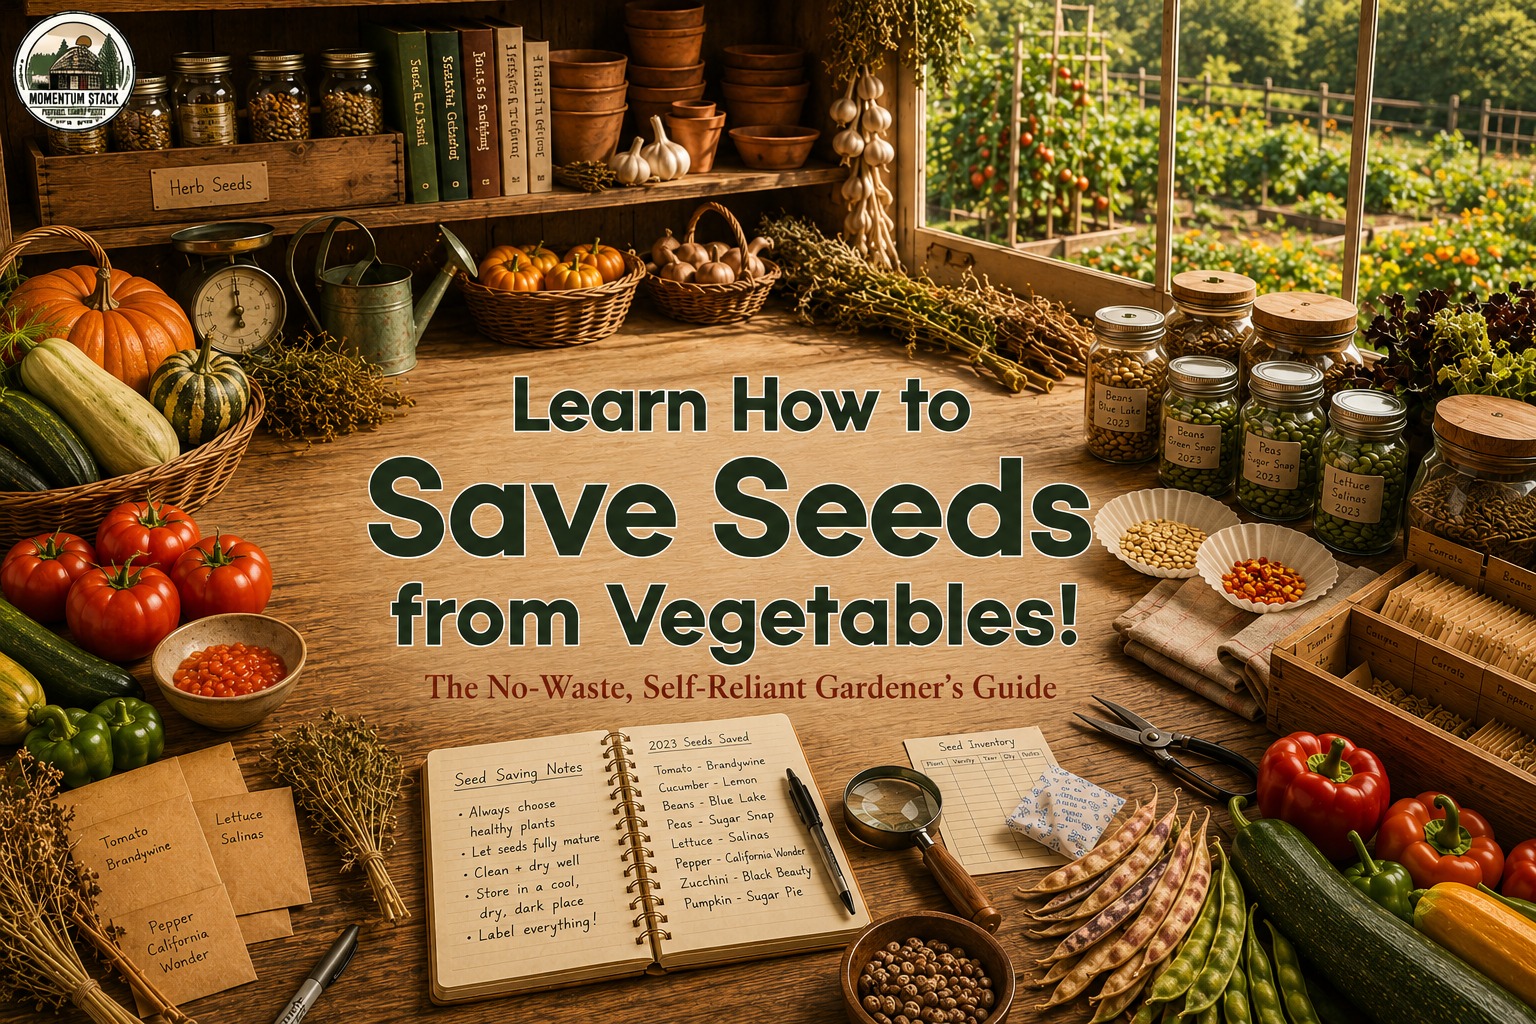

Learn How to Save Seeds from Vegetables
Every tomato, bean, pepper, or lettuce plant you grow has the potential to provide more than just one harvest—it can also produce the seeds for next season’s garden.
Learning how to save seeds from vegetables is one of the simplest ways to reduce gardening costs, preserve your favorite varieties, and become more self-reliant. Instead of buying new seed packets every spring, you can collect, dry, and store seeds from healthy plants to grow year after year.
Seed saving also helps preserve heirloom varieties, reduces waste, and gives you greater control over your food supply. Whether you have a large backyard garden or a few raised beds, this practical skill can quickly become part of your annual harvest routine.
In this guide, you’ll learn which vegetables are easiest to save seeds from, how to harvest and dry them correctly, how to store seeds for maximum viability, and the common mistakes beginners should avoid.
Planning to grow more food? Once your harvest comes in, don’t miss our guides on Food Preservation Methods, Root Cellar Storage, and How to Stock Your Pantry for a Year to make the most of every crop.
Why Saving Seeds Matters
Seed saving is much more than a way to save money. It creates a sustainable gardening cycle where each harvest helps produce the next.
Some of the biggest benefits include:
- Spend less on seed packets every year.
- Preserve vegetable varieties that perform well in your local climate.
- Reduce household waste by reusing natural resources.
- Increase food independence by relying less on outside suppliers.
- Build a personal seed collection that improves over time.
For many homesteaders, seed saving represents another step toward a more resilient lifestyle. Combined with food preservation and proper pantry storage, it helps create a garden that continues producing season after season.
Even if you only save seeds from tomatoes and beans during your first year, you’ll quickly discover how rewarding—and surprisingly simple—the process can be.
Open-Pollinated vs Hybrid Seeds
Before collecting seeds, it’s important to understand that not every vegetable produces seeds that grow true to type.
Open-Pollinated Varieties
Open-pollinated (OP) vegetables reproduce naturally through wind, insects, or self-pollination. When isolated from different varieties of the same species, they produce seeds that grow into plants nearly identical to the parent.
These are the best choices for beginners because you can reliably save and replant the seeds every year.
Examples include:
- Beans
- Peas
- Lettuce
- Tomatoes
- Many peppers
Many heirloom vegetables are also open-pollinated, making them ideal for long-term seed saving.
Hybrid Varieties (F1)
Hybrid vegetables are intentionally crossed by plant breeders to combine desirable traits such as disease resistance, higher yields, or improved flavor.
However, seeds collected from hybrid plants often produce unpredictable results. The next generation may differ in size, flavor, productivity, or disease resistance.
That doesn’t necessarily mean hybrid seeds won’t grow—but they rarely produce plants identical to the originals.
Which Should You Save?
If you’re just beginning, focus on open-pollinated vegetables. They provide the most consistent results and help build confidence before moving on to more advanced seed-saving techniques.
The Easiest Vegetables to Save Seeds From
Some vegetables practically save themselves. They require very little effort and are perfect for first-time seed savers.
Beans
Beans are among the easiest crops to save.
Simply allow healthy pods to mature and dry completely on the vine. Once the pods become brittle, remove the beans, allow them to finish drying indoors if necessary, and store them in labeled paper envelopes or airtight containers.
Because beans are largely self-pollinating, they rarely cross with other varieties, making them an excellent beginner crop.
Peas
Peas follow nearly the same process as beans.
Leave pods on the plant until they turn dry and papery. Shell the peas, inspect them for damage, and allow them to air-dry for several days before storing.
Dry peas can remain viable for several years when kept cool and dry.
Tomatoes
Tomatoes require one extra step known as fermentation, which removes the gel coating surrounding each seed.
Choose fully ripe tomatoes from healthy plants.
Cut the fruit open, squeeze the seeds and surrounding gel into a clean jar, and add a small amount of water. Allow the mixture to ferment for two to three days until a thin layer of mold appears on the surface.
After fermentation:
- Rinse the seeds thoroughly.
- Remove floating debris.
- Spread the clean seeds on a ceramic plate, coffee filter, or paper towel.
- Allow them to dry completely for at least one week before storage.
Properly dried tomato seeds should feel hard and separate easily from one another.
Peppers
Peppers are one of the simplest fleshy vegetables for seed saving.
Allow peppers to fully ripen on the plant until they reach their mature color—red, orange, yellow, chocolate, or another variety-specific shade.
Slice open the pepper, gently scrape out the seeds, and spread them in a single layer on paper or a drying screen.
Store only fully dried seeds to prevent mold during storage.
Lettuce
Many gardeners are surprised to learn that lettuce is also an excellent seed-saving crop.
Instead of harvesting every leaf, allow a few plants to bolt naturally. They will produce tall flowering stalks followed by fluffy seed heads similar to miniature dandelions.
Once the seed heads become dry, gently collect them into a paper bag and separate the seeds from the fluffy material.
Lettuce produces hundreds of seeds from just a few plants, making it one of the easiest ways to build a personal seed supply.
Cucumbers
Cucumber seeds should only be collected from fruits that are allowed to fully mature.
Unlike cucumbers harvested for eating, seed-saving cucumbers become much larger, softer, and often yellow or orange before they’re ready.
Cut the mature cucumber open and scoop out the seeds along with the surrounding pulp.
Like tomatoes, cucumber seeds benefit from a short fermentation period to remove the gelatinous coating. After two to three days, rinse the seeds thoroughly and dry them completely before storing.
When to Harvest Seeds
Timing is one of the most important parts of successful seed saving. Seeds collected too early often haven’t fully matured, which reduces their ability to germinate the following season.
As a general rule, vegetables grown for seed should remain on the plant much longer than vegetables harvested for eating.
Here are some common signs that seeds are ready:
| Vegetable | When to Harvest Seeds |
|---|---|
| Beans | Pods are dry, brown, and brittle. |
| Peas | Pods have dried completely on the vine. |
| Tomatoes | Fruit is fully ripe and soft. |
| Peppers | Fruit reaches full mature color and begins softening. |
| Cucumbers | Fruit becomes oversized and yellow or orange. |
| Lettuce | Seed heads become dry and fluffy. |
Whenever possible, choose seeds from healthy, disease-free plants with strong growth and high yields. These plants are more likely to pass desirable traits to future generations.
How to Collect Seeds
Different vegetables require different collection methods.
Dry-Seed Crops
Dry-seeded vegetables naturally dry on the plant.
These include:
- Beans
- Peas
- Lettuce
- Many herbs
- Some flowers
Collection is simple:
- Allow seed pods or heads to dry.
- Harvest before heavy rain.
- Remove seeds from pods or flower heads.
- Clean away stems and plant debris.
Wet-Seed Crops
Wet fruits protect seeds inside moist pulp.
Examples include:
- Tomatoes
- Cucumbers
- Squash
- Pumpkins
- Melons
These seeds must be separated from the surrounding flesh before drying.
Some, such as tomatoes and cucumbers, also benefit from a short fermentation process to improve storage quality.
How to Clean Wet Seeds
Cleaning removes pulp that can trap moisture and encourage mold.
For tomatoes and cucumbers:
- Scoop seeds into a clean container.
- Add a small amount of water.
- Let ferment for 2–3 days.
- Stir once daily.
- Good seeds usually sink.
- Remove floating debris.
- Rinse thoroughly.
- Drain well.
Avoid fermenting seeds for too long, as excessive fermentation may damage seed viability.
How to Dry Seeds Properly
Drying is one of the most overlooked steps in seed saving.
Seeds stored with even a small amount of moisture can quickly develop mold or lose viability.
For best results:
- Spread seeds in a single layer.
- Use ceramic plates, paper plates, coffee filters, or mesh drying screens.
- Keep them in a warm, shaded location with good airflow.
- Stir occasionally.
- Avoid direct sunlight.
- Avoid ovens or food dehydrators.
Most vegetable seeds require one to two weeks to dry completely.
A simple test is to try bending or pressing the seed.
Properly dried seeds should feel hard and brittle rather than soft or flexible.
How to Store Seeds
Proper storage can keep many vegetable seeds viable for several years.
Remember these three enemies:
- Moisture
- Heat
- Light
The best storage environment is:
- Cool
- Dry
- Dark
- Stable temperature
Good storage containers include:
- Paper seed envelopes
- Glass jars with tight-fitting lids
- Airtight plastic containers
- Metal tins
- Mason jars with silica gel packets
Always label every seed packet with:
- Vegetable variety
- Harvest date
- Year collected
- Optional growing notes
Keeping organized records makes next season much easier.
Common Seed Saving Mistakes
Even experienced gardeners occasionally lose seeds due to preventable mistakes.
Harvesting Too Early
Immature seeds often fail to germinate.
Always allow vegetables to fully mature before collecting seeds.
Saving Seeds From Weak Plants
Choose your healthiest plants.
Avoid collecting seeds from diseased, damaged, or poorly producing vegetables.
Storing Damp Seeds
Moisture is the biggest enemy of long-term seed storage.
If you’re unsure whether seeds are dry enough, allow them another few days before sealing.
Forgetting Labels
Unlabeled seeds quickly become a mystery.
Label everything immediately.
Mixing Different Varieties
Some vegetables cross-pollinate easily.
If you’re growing multiple varieties of squash, cucumbers, corn, or brassicas nearby, research isolation distances before saving seeds.
Ignoring Hybrid Seeds
Seeds collected from hybrid (F1) vegetables may not produce plants identical to the parent.
For predictable results, focus on open-pollinated or heirloom varieties.
Poor Storage Conditions
Garages, sheds, greenhouses, and hot attics often experience large temperature swings.
Store seeds inside your home whenever possible.
How Long Seeds Stay Viable
Every seed gradually loses viability over time, even when stored correctly.
Here’s a general guideline:
| Vegetable | Typical Viability |
|---|---|
| Beans | 3–5 years |
| Peas | 3–5 years |
| Tomatoes | 4–6 years |
| Peppers | 2–5 years |
| Cucumbers | 5–6 years |
| Lettuce | 2–4 years |
| Squash | 4–6 years |
| Pumpkins | 4–6 years |
Older seeds may still germinate but often at lower rates.
If you’re unsure, perform a simple germination test before planting.
Simple Seed Saving Workflow
Saving seeds becomes much easier when you follow the same routine every season.
- Grow healthy open-pollinated vegetables.
- Select the strongest plants.
- Allow fruits or pods to mature fully.
- Collect the seeds.
- Clean wet seeds if needed.
- Dry thoroughly.
- Label every batch.
- Store in a cool, dry, dark place.
- Test older seeds before planting.
- Plant again next season.
Once this process becomes a habit, you’ll build a dependable seed collection that can serve your garden for years.
Final Thoughts
Learning how to save seeds from vegetables is one of the most rewarding gardening skills you can develop.
With just a little patience, every successful harvest can help provide the next one. Over time, you’ll spend less on seed packets, preserve favorite varieties, and gain confidence in growing food more sustainably.
Start with a few easy crops like beans, peas, or tomatoes. As your experience grows, you can expand your seed collection and gradually create a personal seed bank tailored to your climate and garden.
Saving seeds isn’t just about reducing waste—it’s about investing in future harvests.
Frequently Asked Questions
Can I save seeds from grocery store vegetables?
Sometimes. If the vegetable is mature and not a hybrid, the seeds may germinate. However, results can be unpredictable, and produce is often harvested before seeds fully mature.
Which vegetables are easiest for beginners?
Beans, peas, tomatoes, peppers, and lettuce are among the easiest because they require minimal equipment and straightforward techniques.
Do I have to ferment tomato seeds?
Fermentation is recommended because it removes the gel coating around the seeds, reduces certain seed-borne diseases, and helps improve storage quality.
Can I store seeds in the refrigerator?
Yes. A consistently cool, dry refrigerator works well if seeds are stored in airtight containers with moisture protection. Avoid frequent temperature fluctuations and condensation.
How do I know if old seeds are still good?
Try a simple germination test by placing several seeds on a damp paper towel. If most sprout within the expected time, they’re still viable.
Beginner’s Seed Saving Checklist
✅ Grow open-pollinated vegetables
✅ Select healthy plants
✅ Let seeds fully mature
✅ Harvest at the right time
✅ Clean wet seeds properly
✅ Dry seeds completely
✅ Label every packet
✅ Store in cool, dark, dry conditions
✅ Test older seeds before planting
✅ Replant and repeat every season
Saving seeds is just one part of building a more resilient home food system. Once you’ve mastered seed saving, learn how to preserve your harvest, organize a long-term pantry, and store vegetables correctly so nothing goes to waste.