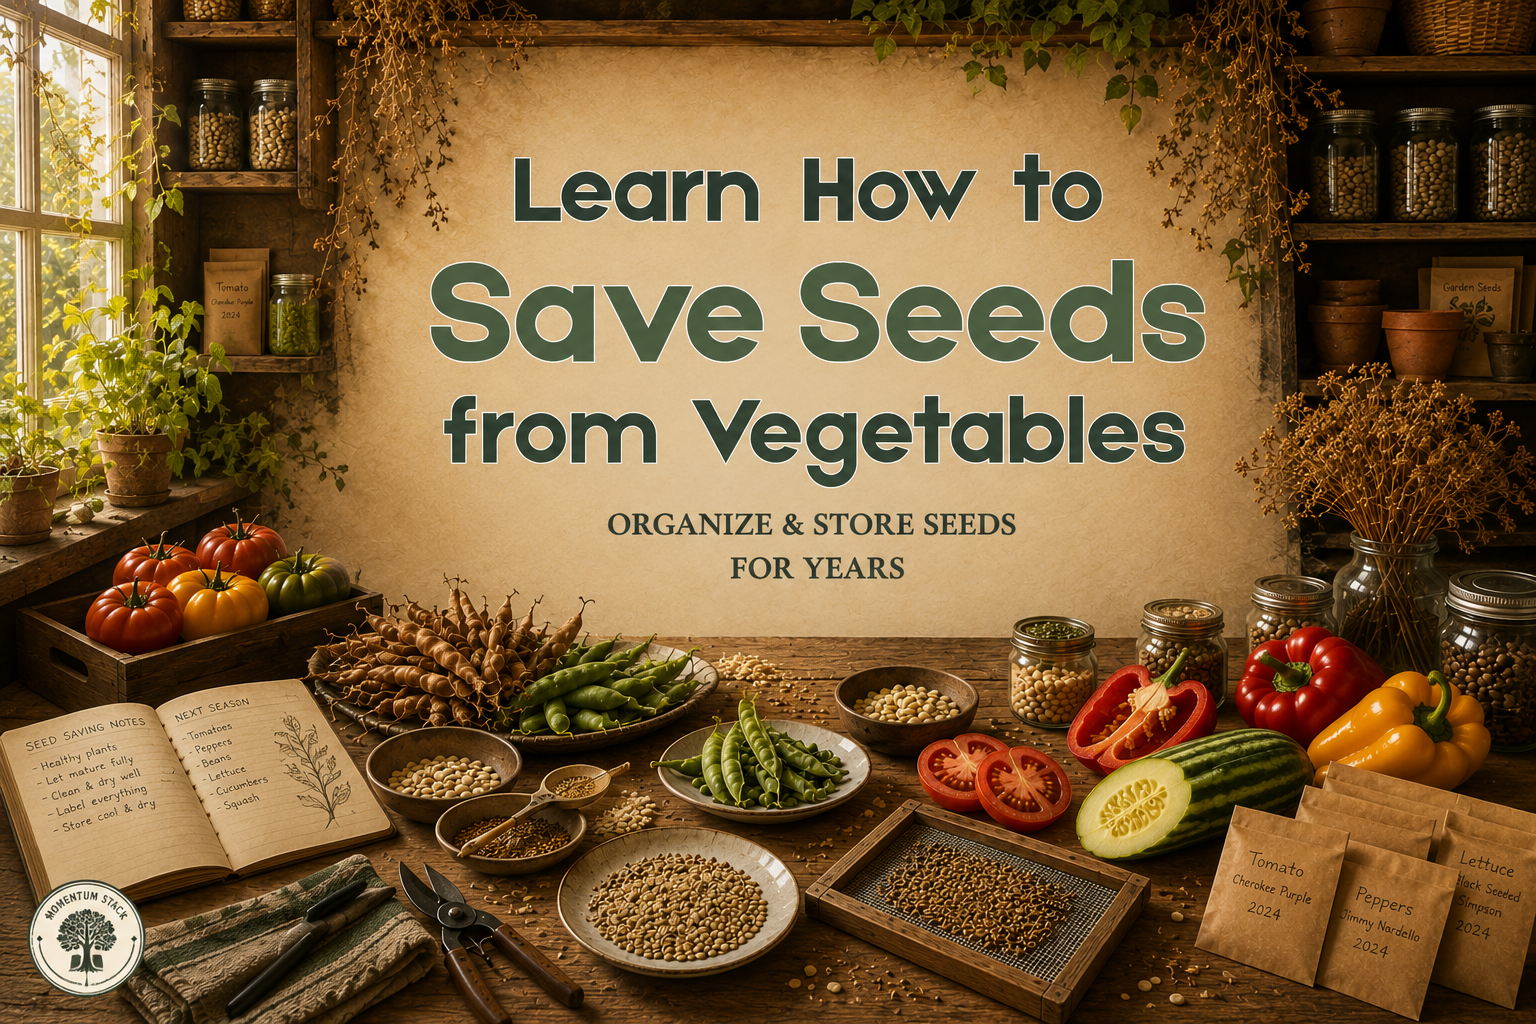

Learn How to Save Seeds from Vegetables: A Beginner’s Guide for Every Home Gardener
Every growing season ends with baskets of fresh vegetables—but it can also mark the beginning of next year’s garden. Instead of buying new seed packets every spring, many gardeners choose to save seeds from their healthiest plants, creating a simple, sustainable cycle that gets better with time.
Seed saving isn’t just about reducing gardening costs. It allows you to preserve vegetable varieties you already know and love, maintain locally adapted plants, and become less dependent on commercial seed supplies. For many home gardeners, it’s a practical skill that connects one harvest to the next while reducing waste.
The good news is that you don’t need specialized equipment or years of experience to get started. Many popular vegetables—including beans, peas, tomatoes, and peppers—produce seeds that are easy to collect, dry, and store successfully.
In this guide, you’ll learn which vegetables are best for beginners, how to harvest mature seeds correctly, the difference between open-pollinated and hybrid varieties, and the simple storage methods that help keep seeds viable until next season.
Why Save Your Own Vegetable Seeds?
Saving seeds has been a part of home gardening for centuries. While modern seed catalogs offer endless choices, collecting seeds from your own garden provides benefits that go far beyond saving money.
Reduce Gardening Costs
A single healthy vegetable plant can produce dozens—or even hundreds—of seeds. By collecting and storing them properly, you may not need to purchase replacement seeds for many of your favorite crops each year.
Although seed packets are relatively inexpensive, those small annual purchases can add up over time, especially if you grow a large vegetable garden.
Preserve Your Favorite Varieties
Perhaps one tomato plant produced exceptionally sweet fruit, or a pepper variety thrived despite an unusually hot summer. Saving seeds from those successful plants allows you to continue growing varieties you’ve already proven in your own garden.
This is especially valuable for heirloom and open-pollinated vegetables, which generally produce offspring that closely resemble the parent plant.
Encourage Plants to Adapt Locally
Over several growing seasons, repeatedly saving seeds from the healthiest and most productive plants may gradually favor traits that perform well under your local climate and soil conditions.
While this process takes time, many experienced gardeners appreciate how seed saving helps build a garden that becomes increasingly suited to its environment.
Support Sustainable Gardening
Saving seeds reduces packaging waste, shipping requirements, and reliance on commercially produced seed supplies. It’s a simple habit that supports a more self-reliant and environmentally conscious gardening routine.
Even if you only save seeds from a few crops each year, you’re helping create a more sustainable growing cycle.
Before You Start: Understand Open-Pollinated vs Hybrid Seeds
One of the most important concepts in seed saving is knowing which plants will produce reliable seeds.
Not every vegetable will grow “true to type” from saved seeds. Understanding the difference between open-pollinated and hybrid varieties helps you avoid disappointment next season.
Open-Pollinated Varieties
Open-pollinated vegetables are naturally pollinated by insects, wind, or self-pollination without intentional crossbreeding by seed companies.
When grown under normal conditions and protected from unwanted cross-pollination, seeds collected from open-pollinated plants usually produce vegetables with characteristics very similar to the parent plant.
These are the best choices for beginner seed savers.
Examples include many varieties of:
- Beans
- Peas
- Lettuce
- Tomatoes
- Peppers
Heirloom Vegetables
Heirloom varieties are a special type of open-pollinated vegetable that has been passed down through generations.
Gardeners often choose heirlooms because they preserve traditional flavors, unique colors, and genetic diversity. Since heirloom plants generally grow true from seed, they are among the easiest and most rewarding crops for seed saving.
Hybrid (F1) Varieties
Hybrid vegetables are created by intentionally crossing two different parent plants to combine desirable characteristics such as disease resistance, productivity, or uniform growth.
While hybrids often perform exceptionally well in the garden, seeds collected from hybrid plants usually do not produce identical offspring.
The next generation may show unpredictable traits, including differences in size, flavor, yield, color, or disease resistance.
That doesn’t mean hybrid seeds won’t germinate—they often will—but the results are unlikely to match the original plant.
Quick Tip: If you’re new to seed saving, begin with open-pollinated or heirloom vegetables for the most consistent and predictable results.
The Best Vegetables for Beginner Seed Savers
Not all vegetables require the same amount of work. Some produce mature seeds naturally with very little effort, while others require fermentation, careful timing, or attention to cross-pollination.
Starting with easier crops helps build confidence before moving on to more advanced seed-saving projects.
| Vegetable | Difficulty | Why It’s Beginner-Friendly |
|---|---|---|
| Beans | ⭐ Easy | Pods simply dry on the plant before harvest. |
| Peas | ⭐ Easy | Mature dry pods make seed collection straightforward. |
| Tomatoes | ⭐⭐ Easy | Simple fermentation removes the protective gel coating. |
| Peppers | ⭐ Easy | Seeds are easy to remove and air dry. |
| Lettuce | ⭐⭐⭐ Moderate | Requires waiting until flowers mature into seed heads. |
| Cucumbers | ⭐⭐⭐ Moderate | Fruit must become fully mature before harvesting seeds. |
| Squash & Pumpkins | ⭐⭐⭐⭐ Advanced | Cross-pollination can affect seed purity between varieties. |
If this is your first season saving seeds, beans, peas, tomatoes, and peppers offer the highest chance of success with the least amount of extra work.
Step 1: Choose Healthy Parent Plants
Successful seed saving begins long before harvest. The quality of your future garden depends heavily on the plants you choose to collect seeds from.
Rather than saving seeds from the first vegetable you pick, observe your garden throughout the growing season and identify plants that consistently perform well.
Look for plants that demonstrate:
- Strong, vigorous growth
- High productivity
- Healthy foliage with minimal disease
- Good resistance to pests
- Excellent flavor and texture
- Fruit that matches the characteristics you want to preserve
Avoid collecting seeds from plants that struggled with disease, produced poor-quality vegetables, or showed signs of weakness. While those seeds may still germinate, they are less likely to contribute to a healthy, productive garden next season.
It’s also important to allow vegetables to reach full seed maturity before harvesting. In many cases, this means leaving a few fruits or pods on the plant well beyond the stage when they would normally be picked for eating.
Next: Once you’ve selected your healthiest plants, the next step is knowing exactly when and how to harvest mature seeds for the highest germination rates.
Step 2: Harvest Seeds at the Right Time
One of the biggest mistakes beginner seed savers make is collecting seeds too early. For seeds to germinate well next season, they must reach full maturity on the parent plant.
The correct harvest time depends on the type of vegetable.
Dry Seed Crops
Vegetables such as beans, peas, lettuce, and many herbs naturally produce dry seeds.
Leave these plants in the garden until the seed pods or seed heads become:
- Brown or tan
- Dry and brittle
- Easy to crack open by hand
Harvest during dry weather whenever possible. Damp pods are more likely to develop mold during storage.
Common dry seed crops include:
- Beans
- Peas
- Lettuce
- Spinach
- Radishes
- Many herbs
Wet Seed Crops
Vegetables with fleshy fruits require a different approach because the seeds mature inside the fruit.
Allow these vegetables to become **fully ripe—or even slightly overripe—**before harvesting.
Examples include:
- Tomatoes
- Peppers
- Cucumbers
- Eggplants
Unlike vegetables picked for eating, seed-saving fruits often remain on the plant longer to allow seeds to finish developing.
Step 3: Clean and Dry Seeds Properly
Freshly harvested seeds often contain moisture, pulp, or plant debris. Cleaning and drying them correctly is essential for long-term storage.
Beans and Peas
These are among the easiest seeds to prepare.
Simply:
- Remove pods.
- Shell the seeds.
- Remove broken or damaged seeds.
- Spread seeds on paper for several days.
Tomatoes
Tomato seeds are coated with a gel that inhibits germination.
To remove it:
- Scoop seeds into a small container.
- Add a little water.
- Allow the mixture to ferment for 2–3 days.
- Rinse thoroughly.
- Dry seeds on paper until completely hard.
Fermentation helps remove the gel coating and can reduce certain seed-borne diseases.
Peppers
Pepper seeds require very little preparation.
Simply:
- Cut open mature peppers.
- Remove seeds.
- Separate from membranes.
- Spread on paper or a screen.
- Air dry for about one week.
Cucumbers
Allow cucumbers to become much larger and yellower than those intended for eating.
After harvesting:
- Scoop out seeds.
- Separate from pulp.
- Rinse clean.
- Dry thoroughly.
Dry Seeds Completely
This step cannot be rushed.
Seeds that still contain moisture may:
- mold
- rot
- lose viability
- germinate poorly
A properly dried seed should feel:
- hard
- dry
- crisp
Never store seeds that still feel soft or flexible.
Tip: Spread seeds in a single layer on paper plates, coffee filters, or fine mesh screens. Avoid paper towels, as some seeds may stick while drying.
Step 4: Store Seeds for Next Season
Even perfectly harvested seeds can lose viability if stored improperly.
The three biggest enemies of stored seeds are:
- Heat
- Moisture
- Light
The goal is to keep seeds cool, dry, and protected until planting time.
Good Storage Containers
Popular options include:
- Paper envelopes
- Coin envelopes
- Glass jars with tight-fitting lids
- Airtight plastic containers
- Small mason jars
Many gardeners place paper envelopes inside a sealed glass jar for added moisture protection.
Add Moisture Protection
If you live in a humid climate, consider adding:
- silica gel packets
- reusable desiccant packs
- dry rice (less effective but sometimes used)
These help reduce excess moisture inside storage containers.
Label Everything
Months later, most seeds look surprisingly similar.
Every packet should include:
- Vegetable name
- Variety
- Harvest year
- Optional notes
Example:
Tomato
Cherokee Purple
Harvested: 2026
Proper labeling prevents confusion when planting season returns.
Ideal Storage Conditions
For the longest seed life:
- Cool
- Dry
- Dark
- Stable temperatures
Avoid storing seeds near:
- sunny windows
- garages with large temperature swings
- damp basements
- kitchens with high humidity
Many gardeners use a closet, cabinet, or dedicated home seed bank for long-term organization.
If you’re planning to store seeds for multiple years, our Build a Home Seed Bank guide explains simple ways to organize collections by season and crop.
Common Seed Saving Mistakes
Even experienced gardeners occasionally lose seeds because of simple storage or harvesting errors.
Avoid these common mistakes.
Saving Seeds Too Early
Immature seeds often fail to germinate.
Always allow vegetables to reach full seed maturity.
Saving Hybrid Seeds Without Knowing It
Seeds from hybrid (F1) vegetables may produce plants that differ significantly from the parent.
Whenever possible, save seeds from open-pollinated or heirloom varieties.
Storing Damp Seeds
Moisture is one of the quickest ways to ruin a seed collection.
If in doubt, allow seeds to dry another day or two before storing.
Forgetting to Label Packets
A handful of unlabeled seeds may become impossible to identify next season.
Label immediately after drying.
Keeping Seeds Somewhere Too Warm
High temperatures shorten seed life.
Choose a consistently cool storage location.
Ignoring Germination Rates
Even properly stored seeds gradually lose viability.
Before planting older seeds, perform a simple germination test to avoid wasting garden space.
Frequently Asked Questions
Can I save seeds from grocery store vegetables?
Sometimes, but results vary. Many grocery vegetables are hybrids or harvested before seeds fully mature. Open-pollinated garden varieties generally provide more reliable results.
Which vegetables are easiest for beginners?
Beans, peas, tomatoes, and peppers are among the simplest crops for first-time seed savers.
Can I save hybrid vegetable seeds?
Yes, but the next generation may not resemble the original plant. For consistent results, choose open-pollinated or heirloom varieties.
How dry should seeds be before storage?
Seeds should feel completely hard and dry. Any remaining moisture can lead to mold or reduced germination.
How long do vegetable seeds stay viable?
It varies by crop and storage conditions. Many vegetable seeds remain viable for 2–5 years when stored in a cool, dry, dark location.
Should I refrigerate my seeds?
A consistently cool environment can help preserve viability, provided seeds are kept dry and protected from condensation.
Why do tomato seeds need fermentation?
Fermentation removes the gel coating around the seeds, improving cleaning and helping reduce certain seed-borne diseases.
How can I test whether old seeds are still good?
Place several seeds between damp paper towels and monitor germination over several days. This provides an estimate of viability before planting.
Conclusion
Saving seeds from your own vegetables is one of the most rewarding gardening skills you can learn. It allows you to preserve favorite varieties, reduce annual gardening costs, and create a more self-reliant garden year after year.
You don’t need to save seeds from every crop to get started. Focus on beginner-friendly vegetables like beans, peas, tomatoes, and peppers, then expand your collection as your confidence grows.
With healthy parent plants, fully mature seeds, proper drying, and careful storage, you’ll have a reliable supply of seeds ready for the next growing season.
Each harvest then becomes more than just food—it becomes the beginning of next year’s garden.
Beginner’s Seed Saving Checklist
✅ Choose healthy, vigorous parent plants
✅ Use open-pollinated or heirloom varieties whenever possible
✅ Allow seeds to fully mature before harvesting
✅ Clean seeds thoroughly
✅ Dry seeds completely before storage
✅ Label every seed packet
✅ Store seeds in a cool, dry, dark location
✅ Test older seeds before planting