
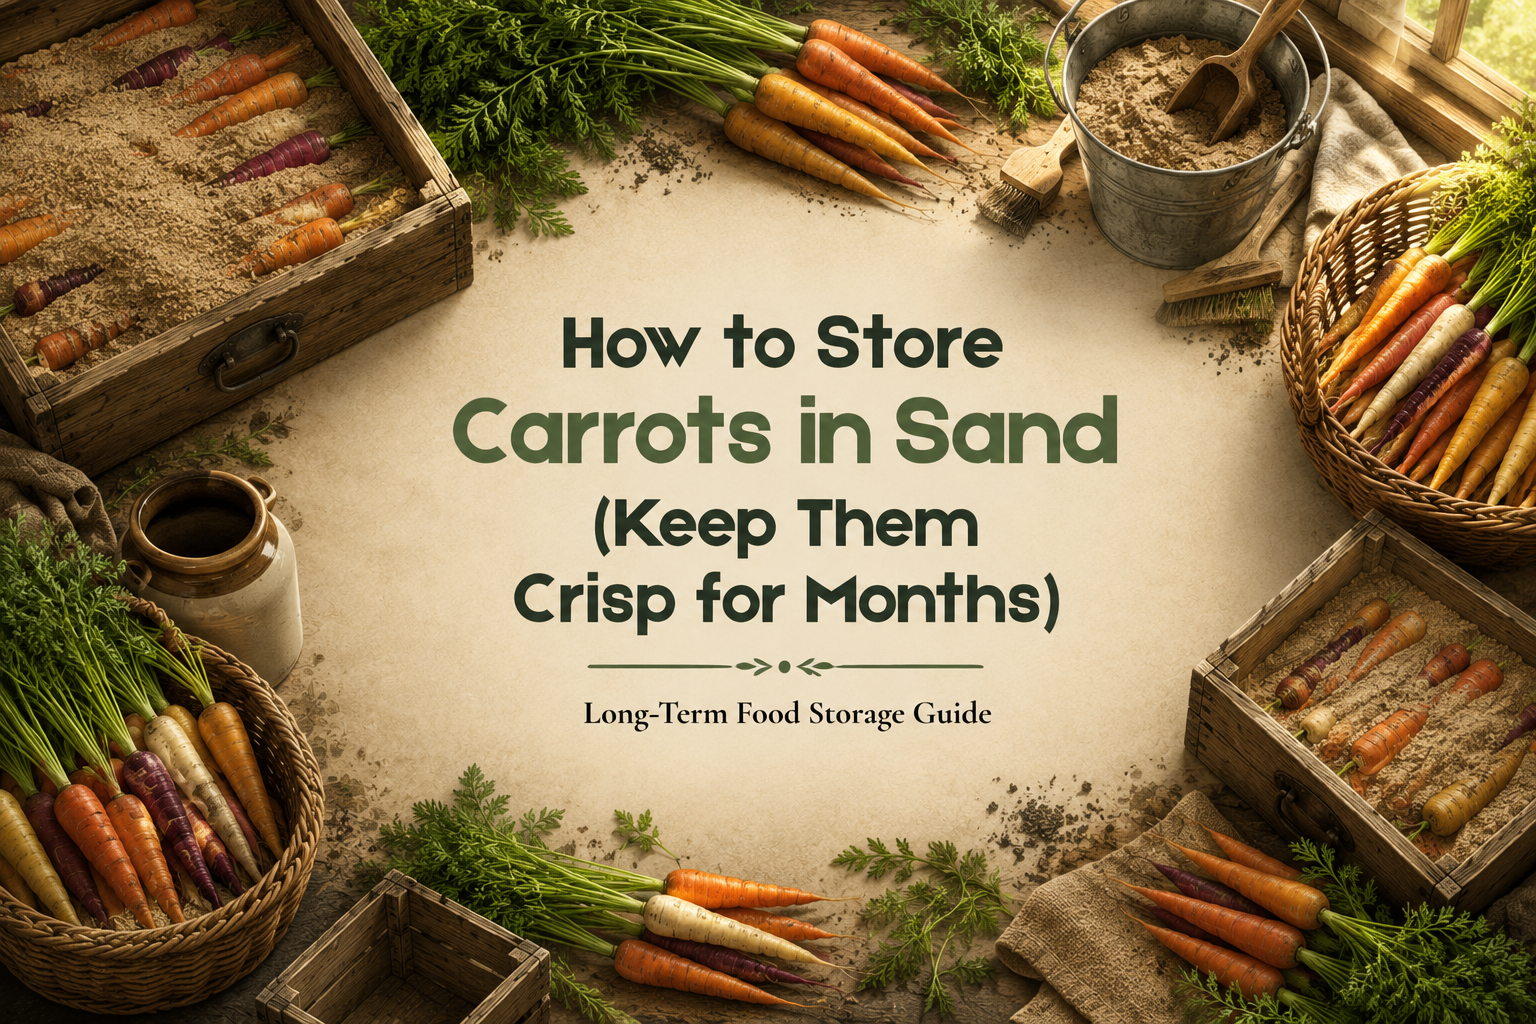

How to Store Carrots in Sand (Keep Them Crisp for Months)
Freshly harvested carrots can stay sweet, crisp, and full of flavor for months—but only if they’re stored correctly.
Many gardeners assume the refrigerator is the best place to keep carrots long term. While refrigeration works for a few weeks, it often isn’t enough for larger harvests. Carrots gradually lose moisture, become rubbery, or begin to rot if conditions aren’t ideal.
That’s why generations of gardeners relied on a much simpler method: storing carrots in slightly damp sand.
The sand creates a stable environment that slows moisture loss, protects each carrot from drying out, and helps maintain the cool, humid conditions that root vegetables naturally prefer. When combined with proper temperatures, this traditional storage method can keep carrots in excellent condition for several months.
In this guide, you’ll learn exactly how to store carrots in sand, what type of sand to use, how moist it should be, the ideal storage conditions, and the common mistakes that shorten storage life.
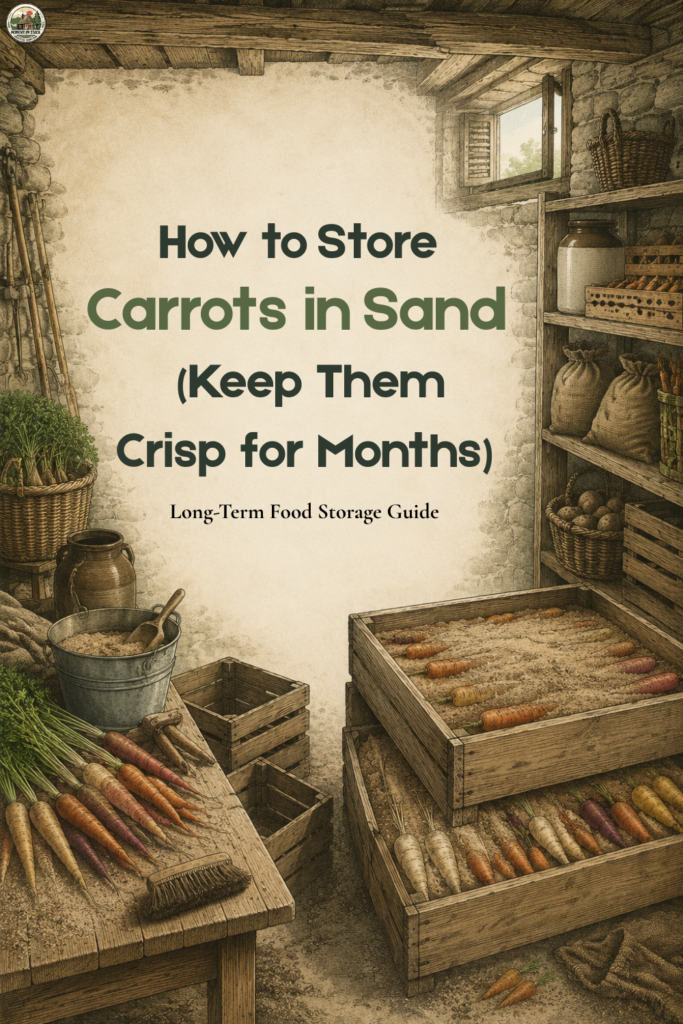
Why Sand Is One of the Best Ways to Store Carrots
Carrots don’t spoil quickly because they’re old—they spoil because they lose water.
Even after harvest, carrots remain living vegetables. They continue to respire, slowly consuming stored sugars while releasing moisture into the surrounding air. If the environment is too dry, they become limp and shriveled. If it’s too warm, respiration speeds up and quality declines even faster. Too much moisture, on the other hand, encourages mold and decay.
Storing carrots in sand helps balance all three of these factors.
Instead of exposing carrots directly to open air, the surrounding sand acts as a natural humidity buffer. Slightly damp sand slows evaporation without leaving the carrots sitting in water. Each carrot is also separated from the others, reducing the chance that one spoiled root will spread decay throughout the entire container.
This method has been used for centuries in root cellars because it closely mimics the cool, moist underground conditions where carrots naturally remain dormant after harvest.
When stored correctly, carrots retain:
- Their crisp texture
- Natural sweetness
- Bright color
- Fresh flavor
- Nutritional quality
Unlike plastic bags or sealed containers, sand also allows for gentle airflow while preventing rapid moisture loss, making it one of the most reliable methods for long-term storage.
Choose the Right Carrots for Storage
Not every carrot belongs in long-term storage.
The storage process begins before the carrots ever reach the sand. Selecting healthy roots dramatically improves how long they’ll last.
Choose carrots that are:
- Fully mature
- Firm and crisp
- Free from cracks
- Free from insect damage
- Free from soft spots
- Similar in size whenever possible
Avoid storing carrots that have been bruised during harvest. Even small cuts or broken tips can become entry points for bacteria and fungi, reducing the storage life of nearby carrots.
If you harvested more carrots than you can realistically inspect, it’s worth taking a few extra minutes to sort them now. The damaged ones can be eaten first, while only the healthiest roots go into long-term storage.
Skip oversized or forked carrots
Large or oddly shaped carrots aren’t necessarily unsafe to store, but they often have more surface damage and tend to lose quality sooner than uniform roots.
Straight, healthy carrots generally store the longest.
Prepare Carrots Before Storing
Proper preparation is just as important as the storage method itself.
Fortunately, preparing carrots for sand storage only takes a few minutes.
Trim off the leafy tops
Remove the green tops immediately after harvest, leaving about ¼–½ inch (0.5–1 cm) of stem attached.
The foliage continues drawing moisture from the root even after harvest. Leaving the greens attached causes carrots to dehydrate much more quickly.
Use clean pruning shears or a sharp knife rather than twisting the tops off by hand, which can sometimes damage the crown.
Don’t wash the carrots
It may feel natural to wash freshly harvested vegetables, but resist the temptation.
A light coating of soil actually helps protect carrots during storage. Washing introduces extra moisture onto the surface and removes part of the natural protective layer, increasing the risk of rot.
Instead, gently brush away loose clumps of dirt with your hands or a soft brush.
Let excess surface moisture dry
If the carrots were harvested after rain or from very wet soil, allow them to air dry in a cool, shaded location for a short time before packing them.
They shouldn’t become dry or dehydrated—just dry enough that no visible moisture remains on the surface.
Avoid leaving carrots in direct sunlight, as heat quickly reduces their storage quality.
How to Store Carrots in Sand Step by Step
Once the carrots are prepared, the actual storage process is surprisingly simple.
The goal is to surround every carrot with slightly damp sand while keeping them separated from one another. This prevents moisture loss and minimizes the spread of decay if one carrot eventually begins to spoil.
Step 1: Choose a suitable container
Almost any sturdy container can work, provided it is clean and deep enough to hold several layers of sand and carrots.
Good options include:
- Wooden crates
- Plastic storage totes
- Five-gallon buckets
- Wooden boxes
- Heavy-duty storage bins
The container doesn’t need to be airtight. In fact, a small amount of airflow is beneficial.
If using plastic totes or buckets, many gardeners drill a few small ventilation holes near the upper sides to improve air circulation without allowing the sand to dry out too quickly.
Step 2: Add the first layer of damp sand
Spread 2–3 inches (5–8 cm) of clean, slightly damp sand across the bottom of the container.
The sand should feel cool and hold its shape when squeezed in your hand, but no water should drip out.
A useful rule of thumb is this:
If the sand leaves your hand wet, it’s too moist. If it falls apart like dry beach sand, it’s too dry. The ideal texture is similar to a wrung-out sponge.
This balance creates the high-humidity environment carrots need without encouraging mold.
Step 3: Arrange the Carrots
Place the carrots upright or on their sides in a single layer over the sand.
The important rule is simple:
Don’t let the carrots touch each other.
Separating each carrot helps prevent rot from spreading if one root begins to spoil during storage. Leave a small gap between each carrot whenever possible.
Avoid forcing oversized carrots into tight spaces. Crowding increases the chance of bruising and limits airflow around the roots.
Step 4: Cover with More Sand
Once the first layer of carrots is in place, gently pour another layer of slightly damp sand over them until they’re completely covered.
No part of the carrots should remain exposed to the air.
The sand acts as an insulating blanket, helping maintain consistent humidity around every root.
Step 5: Repeat the Layers
Continue alternating layers of:
- Damp sand
- Carrots
- Damp sand
until the container is nearly full.
Finish with a final layer of sand covering the top completely.
This layering method creates a stable storage environment while making it easy to inspect only the upper layer when checking for spoilage.
Step 6: Store the Container in a Cool Location
Move the finished container to a place that remains cool, dark, and consistently humid.
Ideal locations include:
- Root cellar
- Unheated basement
- Cool garage (where temperatures stay above freezing)
- Cold storage room
Avoid locations where temperatures fluctuate dramatically throughout the day.
Repeated warming and cooling causes condensation inside the container, increasing the likelihood of mold.
What Kind of Sand Should You Use?
Not all sand is suitable for storing vegetables.
The goal is to use clean, mineral-based sand that retains moisture evenly without introducing contaminants.
Good choices include:
- Washed builder’s sand
- Horticultural sand
- Clean river sand (washed)
Avoid using:
- Beach sand (contains salt)
- Dirty construction sand
- Sand mixed with clay
- Sand containing organic debris
If you’re unsure whether the sand is clean, rinse it thoroughly and allow excess water to drain before adjusting it to the proper moisture level.
How Damp Should the Sand Be?
This is the mistake that causes the most storage failures.
Many people assume “damp” means wet.
It doesn’t.
The sand should contain just enough moisture to maintain high humidity without leaving free water around the carrots.
The Squeeze Test
Grab a handful of sand and squeeze it firmly.
Perfect
✅ Holds together briefly
✅ Feels cool
✅ No dripping water
Too Dry
❌ Falls apart immediately
Too Wet
❌ Water drips out
❌ Leaves your hand soaked
Think of the texture as similar to a sponge that’s been wrung out thoroughly.
Best Storage Conditions
| Storage Factor | Ideal Condition |
|---|---|
| Temperature | 33–40°F (0.5–4.5°C) |
| Humidity | 90–95% |
| Light | Complete darkness |
| Airflow | Gentle ventilation |
| Sand Moisture | Slightly damp |
| Freezing | Avoid |
Maintaining consistent conditions is more important than achieving perfect numbers.
Even brief periods of warmth can shorten storage life.
How Long Do Carrots Last in Sand?
Storage life depends on the quality of the carrots and how stable the environment remains.
| Storage Method | Expected Storage Life |
|---|---|
| Kitchen Counter | 3–7 days |
| Refrigerator | 2–8 weeks |
| Plastic Bag in Fridge | 1–2 months |
| Damp Sand Storage | 4–6 months |
| Root Cellar + Sand | 5–6+ months |
Inspect the carrots about once each month.
If you find a carrot beginning to soften or rot, remove it immediately before the problem spreads.
Common Mistakes When Storing Carrots in Sand
Even a good storage setup can fail if a few basic mistakes are overlooked.
Washing Carrots Before Storage
Moisture left on the surface increases the risk of decay.
Using Wet Sand
Too much water reduces airflow and encourages mold.
Leaving the Green Tops Attached
The tops continue drawing moisture from the roots, causing carrots to soften much faster.
Storing Damaged Carrots
Cuts, bruises, and insect damage dramatically shorten storage life.
Use damaged carrots first and reserve only the healthiest roots for long-term storage.
Allowing Carrots to Touch
One spoiled carrot can quickly affect those surrounding it.
A little spacing goes a long way.
Storing in Warm Locations
Basements and garages are only suitable if temperatures remain consistently cool.
Warm storage areas speed up respiration and reduce shelf life.
Can You Store Other Vegetables in Sand?
Absolutely.
The same method works well for many root vegetables that prefer cool, humid storage conditions.
These include:
- Beets
- Parsnips
- Turnips
- Rutabagas
- Salsify
While the general method is similar, each vegetable has slightly different storage requirements.
https://momentumstackhq.com/store-sweet-potatoes/
https://momentumstackhq.com/store-onions-long-term/
https://momentumstackhq.com/store-sweet-potatoes/
Frequently Asked Questions
Can I use play sand?
Yes, as long as it’s clean and free of chemical additives.
Can I use sawdust instead of sand?
Some gardeners do, but sand generally maintains moisture more consistently and is less likely to dry out.
Should I wash carrots before eating?
Yes.
Brush off the sand first, then wash thoroughly before cooking or eating.
Can I use a plastic bucket?
Yes.
Many gardeners successfully use food-grade plastic buckets with a few ventilation holes.
Do I need a root cellar?
No.
Any location that stays cool, dark, and relatively humid can work.
An unheated basement is often a good alternative.
Final Thoughts
Storing carrots in sand may sound old-fashioned, but there’s a reason gardeners have trusted this method for generations.
By surrounding healthy carrots with slightly damp sand and keeping them in cool, stable conditions, you create an environment that slows moisture loss, reduces spoilage, and preserves freshness for months.
The process requires very little equipment, costs almost nothing, and can dramatically reduce food waste after harvest.
If you’re looking for a dependable way to enjoy homegrown carrots well into winter, sand storage remains one of the simplest and most effective techniques available.
Quick Checklist
✅ Harvest mature, undamaged carrots
✅ Remove the leafy tops
✅ Don’t wash before storage
✅ Use clean, slightly damp sand
✅ Keep carrots separated
✅ Cover every layer completely
✅ Store in a cool, dark place
✅ Check once each month